The greenhouse. Setting the stage
Friday, February 13, 2026
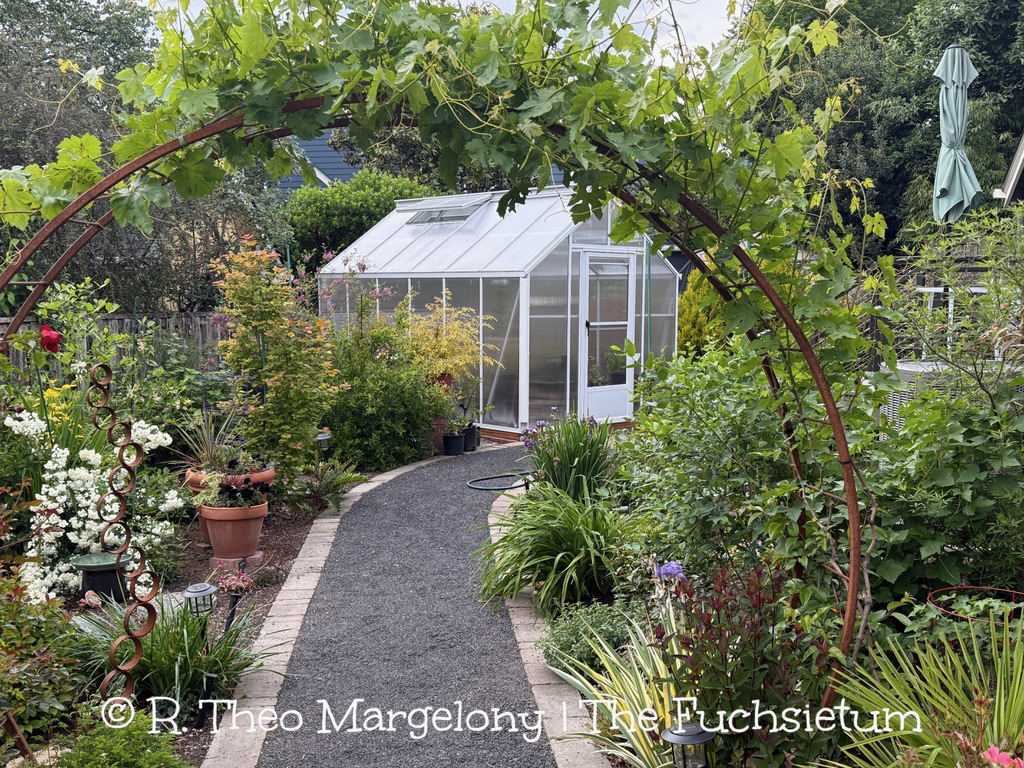
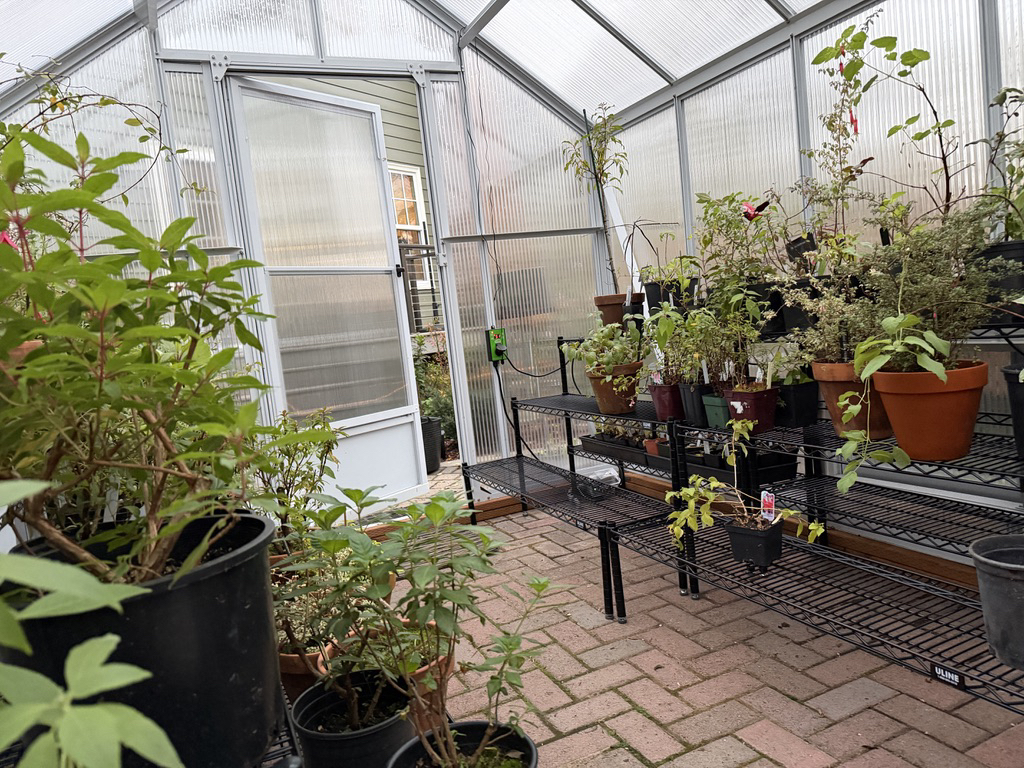
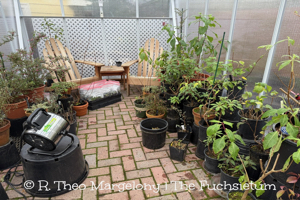
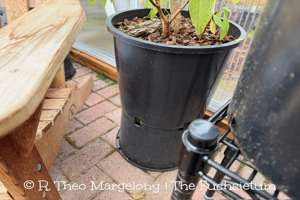
It’s taken a year! My new greenhouse finally went up in September, 2024. There was no staging yet that first winter, though. The fuchsia species did shelter inside but they were arrayed on the floor on upside down black nursery pots along the two sides. It was functional if not very dramatic.
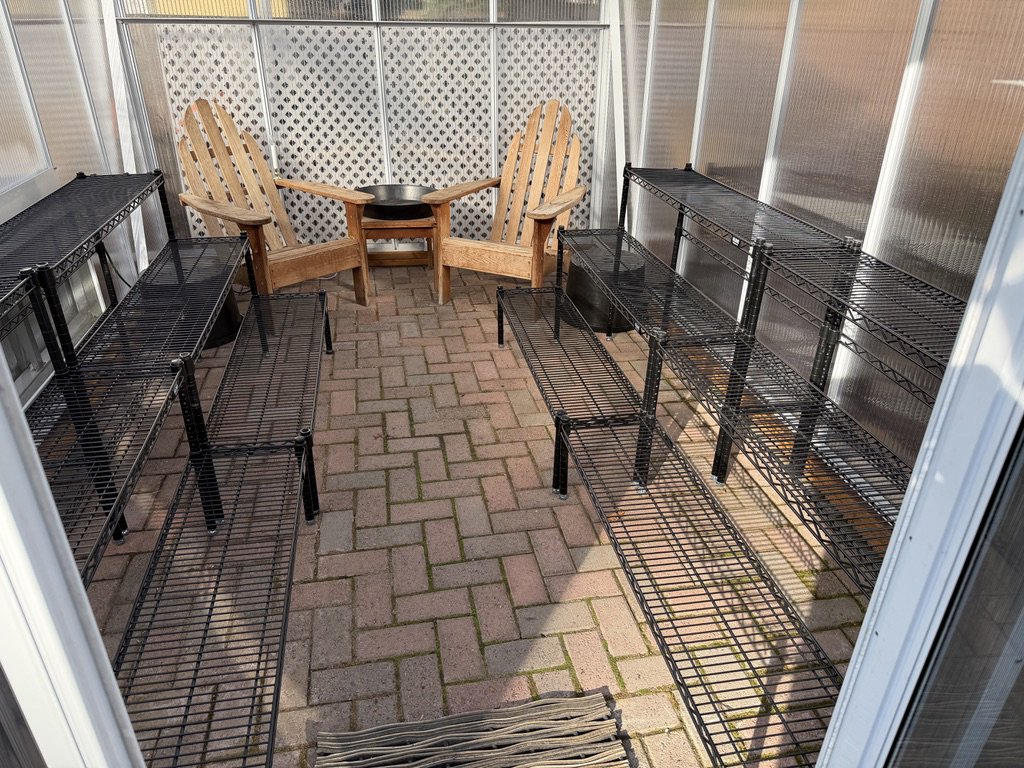
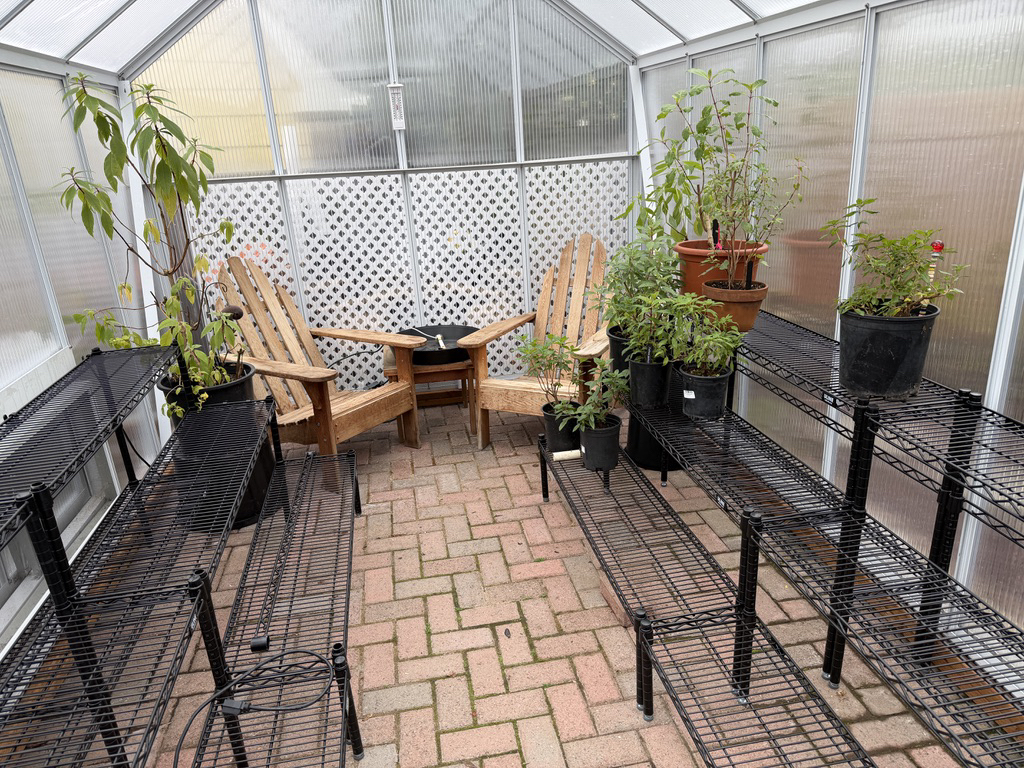
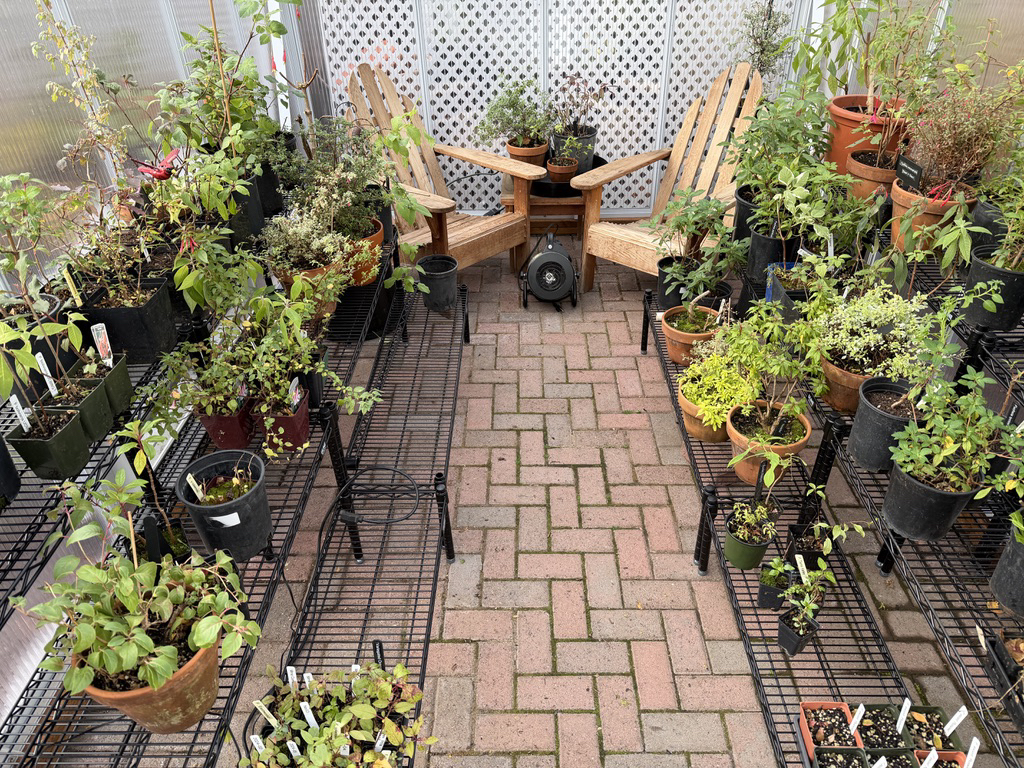
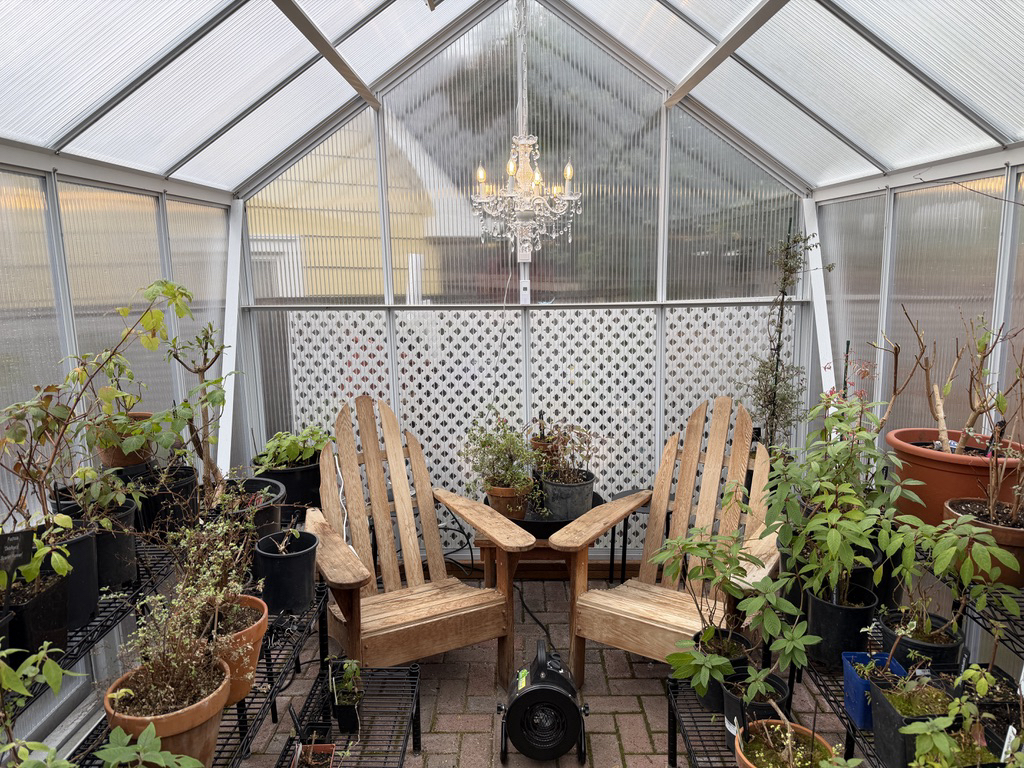
I also set my two cedar Adirondack chairs at the far end. It was nice to sit and talk to the fuchsias when brighter winter days warmed the inside of the cool greenhouse to a cozy temperature. They’re still there. And still comphy. Maybe I’ll take them away for more fuchsias at some point but I’m trying very much not to.
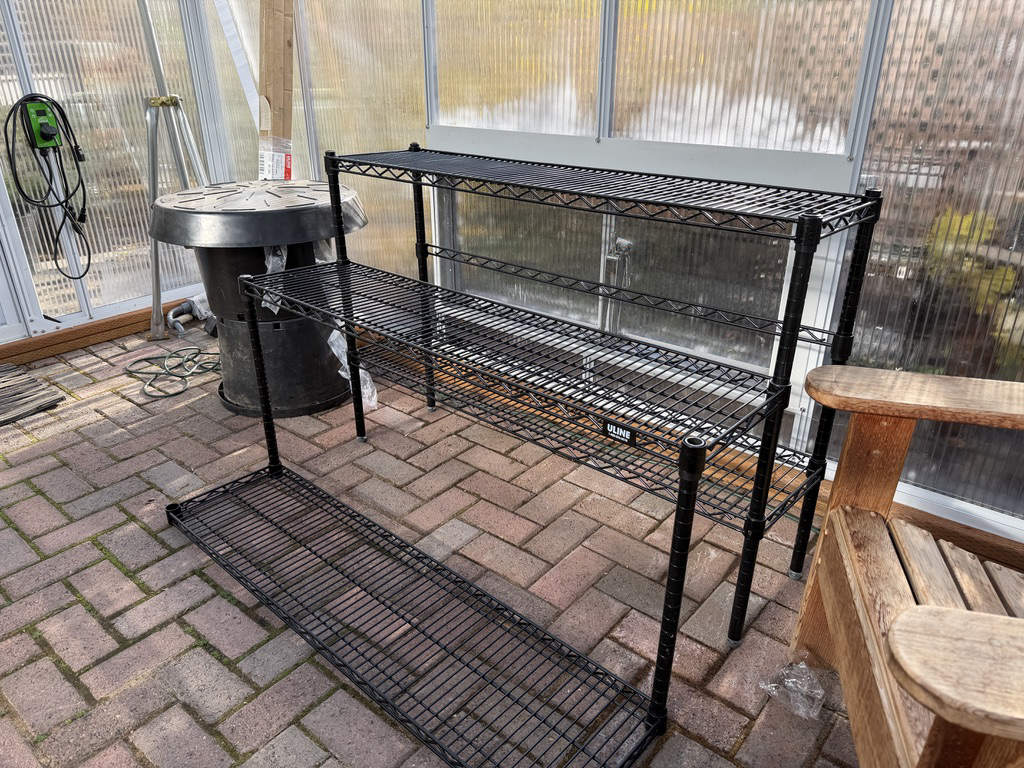
In the greenhouse, I didn’t really want tall tables or benches. I already have a great potting bench built into an alcove behind the house. What I envisioned along the two long sides was stepped metal racks with open meshwork on the top “treads” so water would easily drain away to the permeable paved floor. I would stage the pots on raised tiers so that they could be on show.
You’d think stepped staging would be an easy find? Well, yes and no. Ultimately, not really. I thought, “Oh, I‘ll just check nurseries or some big-box stores or Amazon or wherever. Easy!” Nope. I saw a lot of possibilities that I thought might work but, time and time gain, all of them were simply inadequate for some reason or other.
The draw back with off-the-rack plant steps is that they’re mostly so flimsy. Also the steps generally aren’t wide enough for larger pots. They’re mostly about six to eight inches deep and rise only about that much, too. Often one step is partially tucked under the one above, reducing the width. Great for a few smaller houseplants in the parlor. Not great for fuchsias in larger or heavier pots. Available lengths were also a problem. These things are not useful if you want to precisely maximize width and length in a small, 8 x 12 foot space to make every inch count.
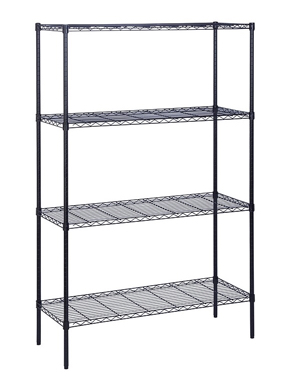
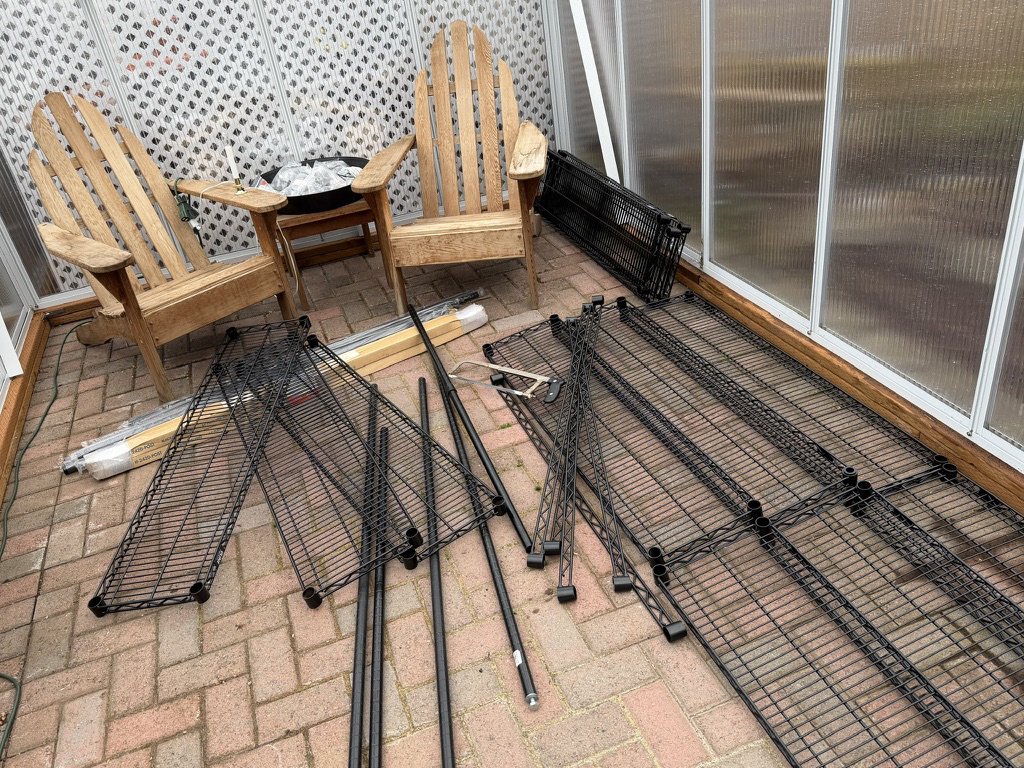
The greenhouse was empty in the heat of the summer. The fuchsias were frolicking out on the patio and in the garden. Freezing weather would come at some point. It wasn’t until early September that an ideal solution suddenly occurred to me. Industrial Metro Shelving and my own DIY.
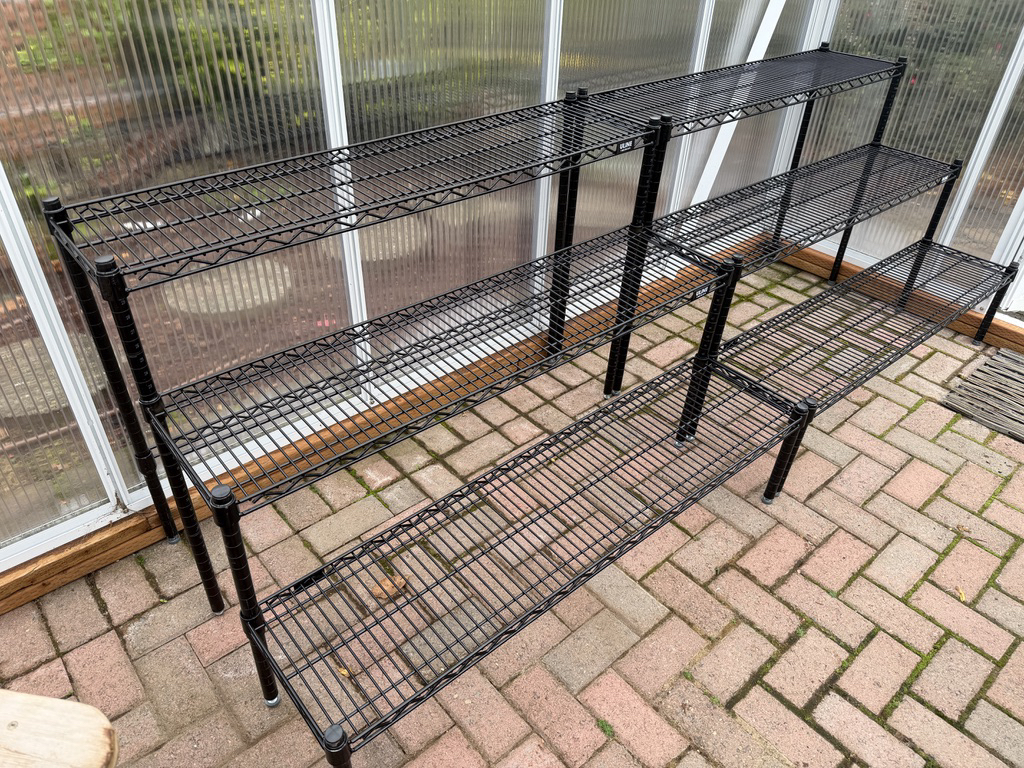
I’ve already used these industrial-strength steel shelves in the basement and in the garage. They’re sturdy and strong and the finish is baked-on enamel. They'll hold hundreds of pounds. Even me if I want to reach the rafters. Not that I weigh hundred of pounds. But I'm not afraid to use them as steps even for myself. I opted for four four-foot long sets with twelve-inch-wide shelves. I calculated that these would leave a generous center aisle of thirty inches (76 cm) and stop just short of the door frame. Forty-eight linear feet (14.6 m), actually.
I got the sets delivered from U-Line near Seattle. You can buy this kind of wire shelving at box stores like Lowe’s but they do skimp a bit on manufacturing quality to make the product cheaper. Also, opting for U-line, I could tailer the sizes to more precisely fit the space and my needs.
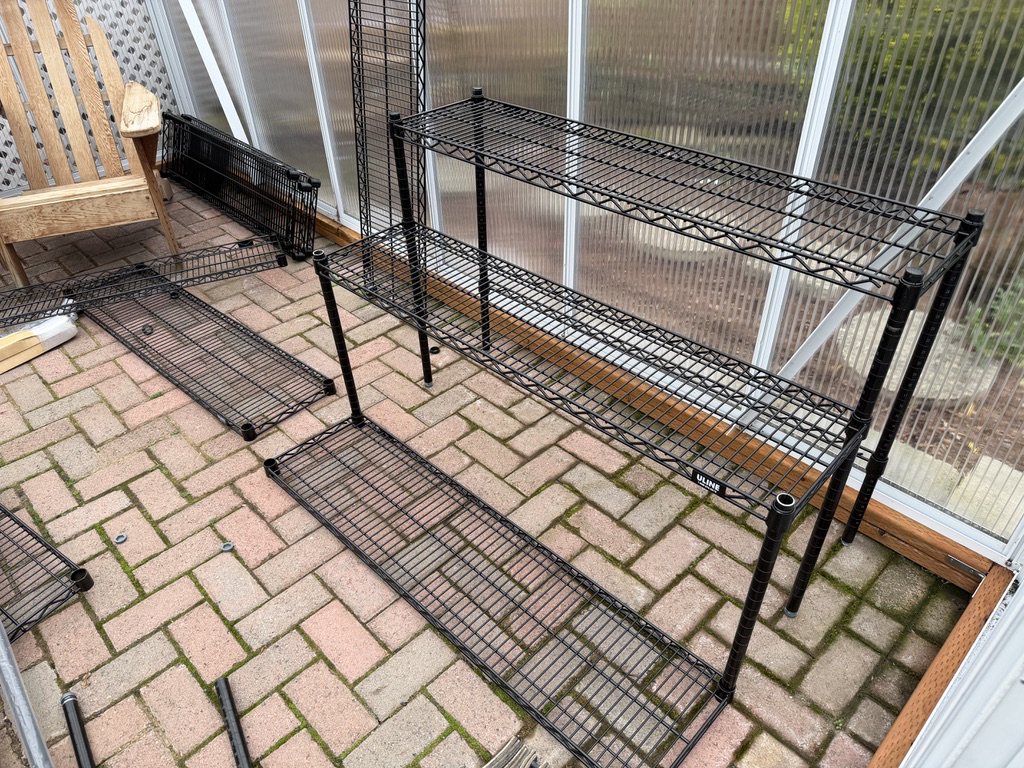
Each set of shelves made a rack with three steps and a bonus shelf tucked underneath. I put that fourth one under the top shelf at the same height as the first and added an extra 4-foot brace back in there for stability. The fourth shelf has turned out to be an ideal place for holding some trays of cuttings.
I cut the poles to my measurements and desired heights with an ordinary clamp-style pipe cutter. The poles come notched with grooves every inch to hold the taped shelf supports so that made guiding the cuts easy. There were a few other additions, such as some extra poles to fill in the various heights I had calculated, more of the adjustable leveling feet, and plastic pole caps for cut ends. The poles are steel but I spray painted the exposed cuts first to help protect them from moisture and rust.
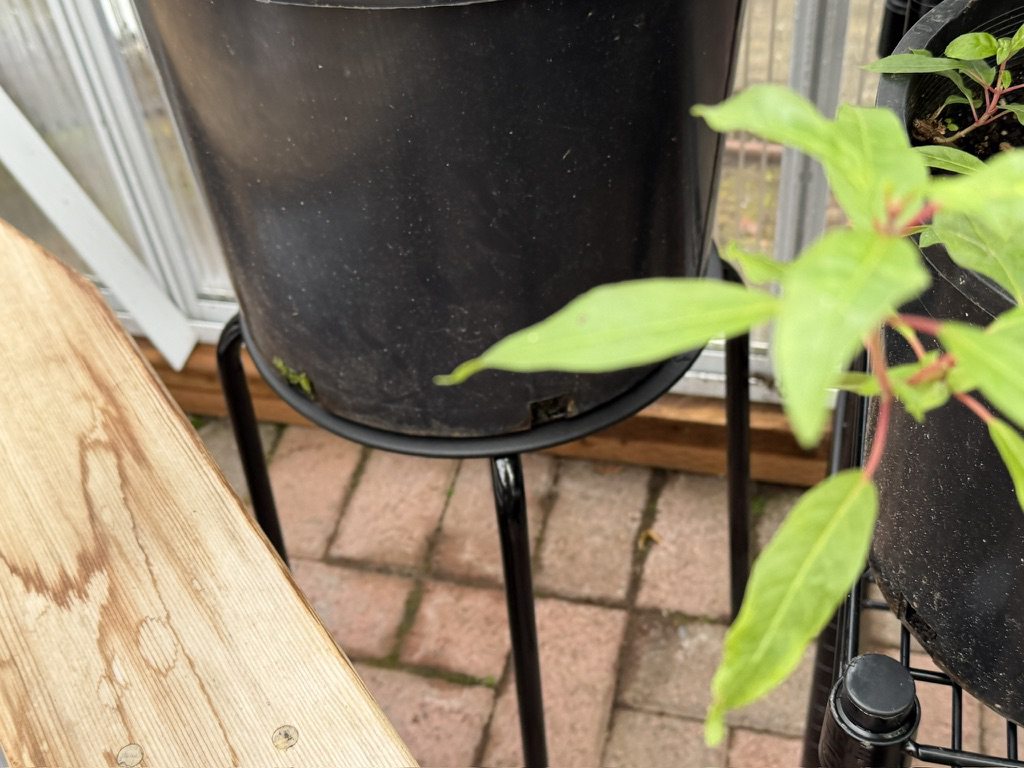
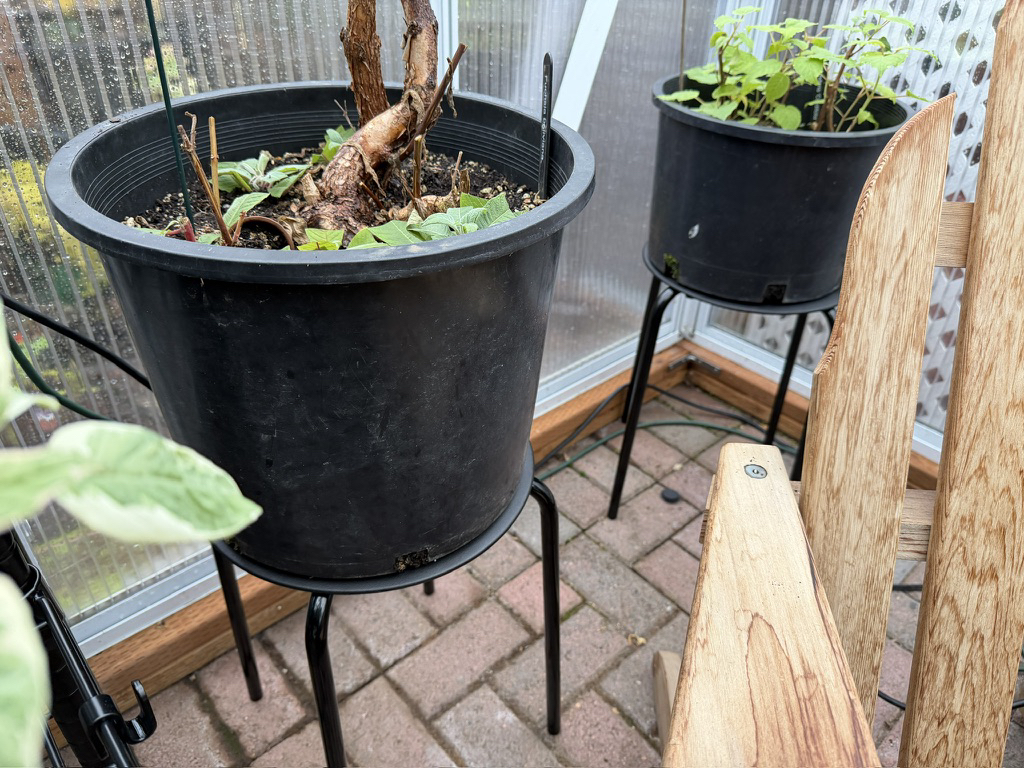
I saw the prefect plant stands quite by accident at IKEA. They had they had these simple stools with metal legs and a moulded plastic seat. There were even holes in the seat for water drainage. I thought why not? They look good. They’d work perfectly. And the best part? Each one was only $9.95!